Simple Steps to Make Your Golf Shoes Last Longer
Why Your Golf Shoes Deserve a Little TLC
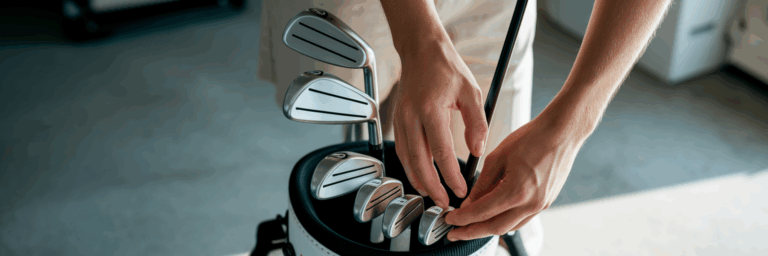
Your golf shoes are the only piece of equipment connecting you directly to the course. They are a critical investment in your stability, comfort, and power through every swing. Thinking of them this way changes everything. Proper care stops being a chore and becomes a simple habit that protects your investment and prepares you for a better round.
The main culprits of shoe degradation are simple: dirt, moisture, and improper storage. When left unchecked, dirt and grass clippings can break down the shoe's materials, while lingering moisture compromises waterproofing and encourages odour. These factors lead to a loss of support and premature wear. Taking a few minutes for maintenance is an easy and rewarding part of learning how to play golf, helping you feel more prepared and professional every time you step on the course.
The Essential Post-Round Cleaning Routine
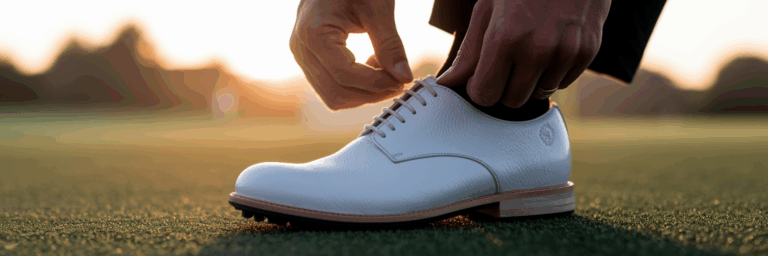
We have all felt the temptation to toss our shoes into the car trunk after a long round and forget about them. But the single most important habit for shoe longevity is a quick clean right after you play. This simple routine prevents dirt from setting in and causing long-term damage. Following these golf shoe care tips will become second nature.
Here is a straightforward process for how to clean golf shoes effectively:
- Remove loose debris immediately. Before you even leave the course, knock the soles of your shoes together to dislodge clumps of mud and grass. Once home, use a soft-bristled brush to gently sweep away any remaining dry dirt from the uppers, which are the top parts of the shoe, and the soles.
- Perform a deeper clean with care. Mix a small amount of mild soap with warm water. Dip a soft cloth into the solution, wring it out, and gently wipe down the entire shoe. It is important to avoid harsh detergents or fully submerging your shoes in water, as this can ruin waterproof membranes and damage the adhesives that hold the shoe together.
- Clear out the traction elements. Packed-in dirt in the grooves of your soles reduces grip. Use a golf tee or a specialised spike brush to carefully pick out any stubborn debris. This ensures your shoes provide the stable base you need for your next swing.
Proper Drying Techniques for Peak Performance
Once your shoes are clean, the next step is drying them correctly. This is where many golfers make a critical mistake. The golden rule of drying wet golf shoes is to never use direct heat. Placing them near a radiator, in front of a heater, or using a hairdryer might seem like a quick fix, but it can cause irreversible damage. High heat can make leather crack, weaken the glues holding the shoe together, and even cause the shoe to lose its supportive shape.
Instead, follow these simple and effective methods:
- Air-dry at room temperature. Find a spot with good air circulation, away from direct sunlight or heat sources. Patience is key here.
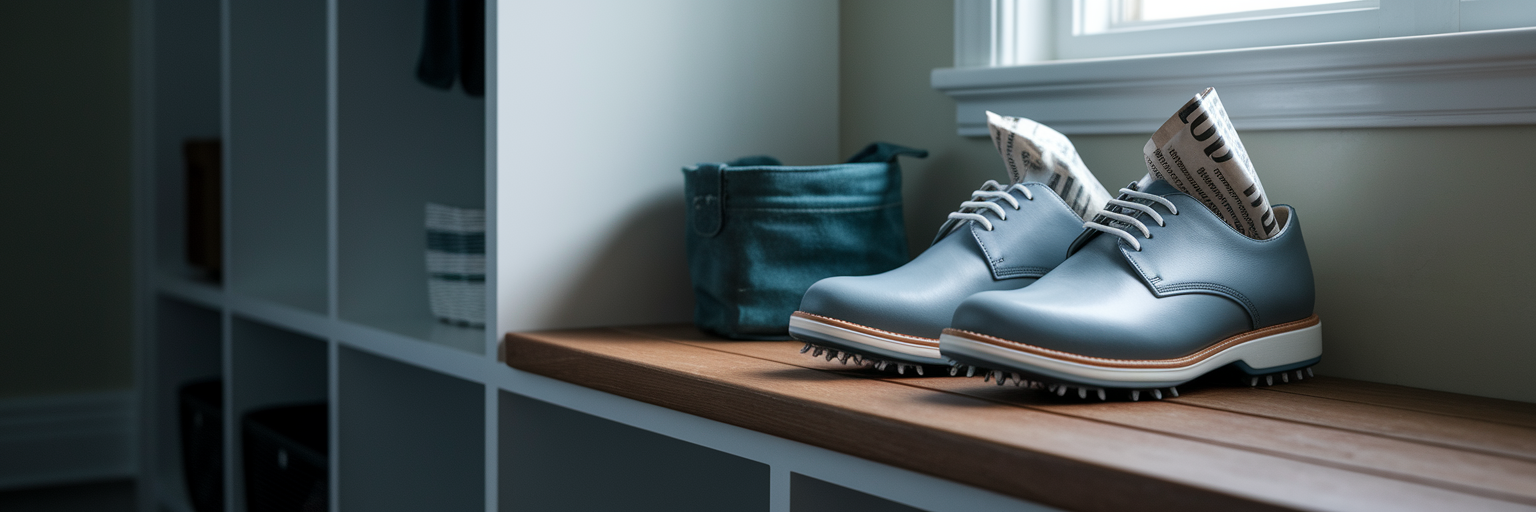
- Stuff them with newspaper. This is a classic trick for a reason. Crumpled newspaper is excellent at absorbing moisture from the inside of the shoe while helping it maintain its original shape as it dries. Change the newspaper every few hours for very wet shoes.
- Remove the insoles. Take the insoles out and let them dry separately. This simple action dramatically speeds up the drying process for the entire shoe and helps prevent the growth of odour-causing bacteria.
Long-Term Care and Smart Storage Habits
With cleaning and drying covered, let's turn to the habits that will make golf shoes last longer over months and years. Consistent long-term care ensures your shoes remain comfortable, supportive, and ready for every round.
Material-Specific Maintenance
Not all golf shoes are made the same. Leather shoes require occasional conditioning to keep the material supple and prevent it from cracking. Applying a quality leather conditioner is a straightforward process that keeps the material from drying out. For a detailed walkthrough, Red Moose offers a step-by-step guide on how to properly maintain leather golf shoes. Synthetic shoes, on the other hand, are lower maintenance and do not require conditioning.
The Benefit of Shoe Trees
Using cedar shoe trees is one of the best things you can do for your shoes. They do three important jobs at once: they help the shoe hold its proper shape, absorb any lingering moisture, and naturally deodorise the interior. Think of them as a spa treatment for your shoes between rounds.
Proper Storage Between Rounds
Where you keep your shoes matters. The extreme temperatures in a car trunk can break down shoe materials over time. The best place to store your golf shoes is in a cool, dry place, like a closet. Using a breathable shoe bag protects them from dust while allowing air to circulate.
| Material | Cleaning Method | Conditioning Needs | Best For |
|---|---|---|---|
| Full-Grain Leather | Damp cloth, mild soap | Conditioner every 5-10 rounds | Breathability and durability |
| Synthetic/Microfiber | Damp cloth, mild soap | None required | Waterproofing and easy cleaning |
| Knit/Mesh | Soft brush, mild soap solution | None required | Lightweight comfort and ventilation |
Note: This table provides general care guidelines. Always check the manufacturer's recommendations for your specific pair of shoes.
Maintaining Spikes for Unbeatable Grip
Your connection to the ground is only as good as your shoe's traction. For beginners, it is helpful to know there are two main types of golf shoes: spikeless, which have a permanent sole with traction lugs, and soft-spiked, which use replaceable cleats. While spikeless shoes require only regular cleaning, shoes with soft spikes need a bit more attention to maintain peak performance.
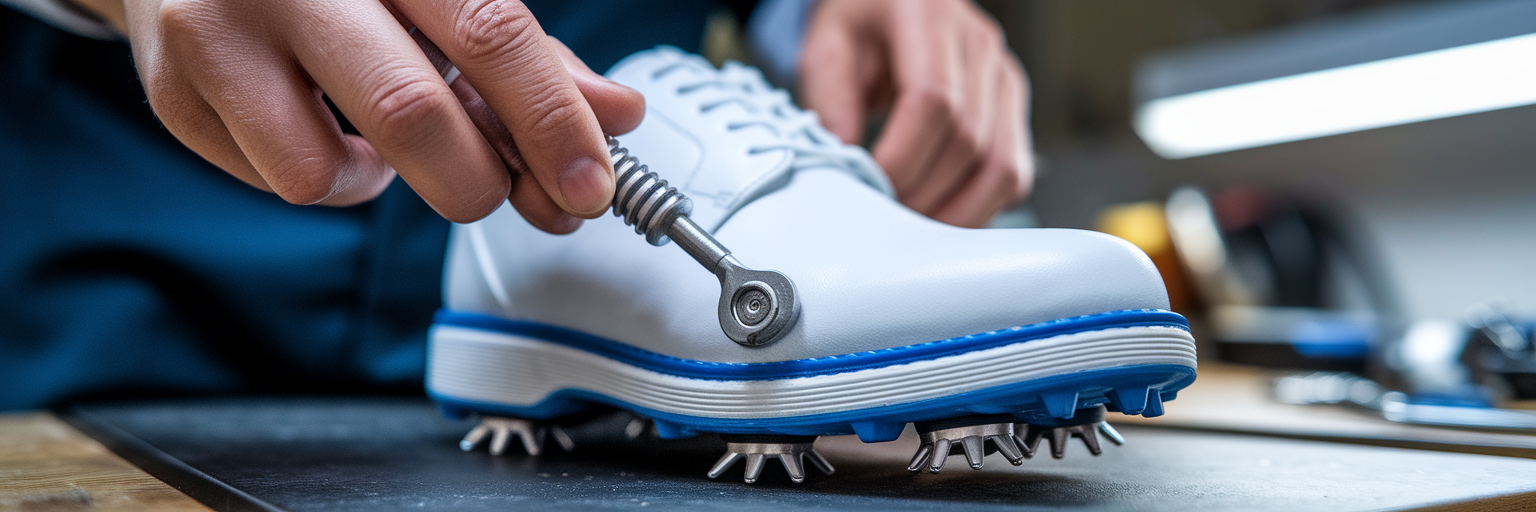
Inspect your spikes regularly for wear. A worn spike will look flattened, thin, or have broken pieces. Replacing golf spikes is a simple task that makes a huge difference in your stability. Here is how to do it:
- Get the right tool. You will need a spike wrench, which is designed to fit into the spike for easy removal and tightening.
- Clean the area first. Use a brush to clear any dirt from around the spike and its receptacle, which is the threaded hole it screws into.
- Remove the old and insert the new. Use the wrench to unscrew the old spike. Before inserting the new one, ensure the receptacle is clean. Then, screw in the new spike until it is snug.
As a general rule, check your spikes every 10 to 15 rounds and plan on replacing them at least once a season. This ensures you always have the grip you need to swing with confidence.
Step onto the Course with Confidence
Taking care of your equipment is a sign of a dedicated player. It shows respect for the game and for your own investment in it. By turning these simple habits into a routine, you are doing more than just maintaining your shoes; you are building the mindset of a prepared and confident golfer.
Let's recap the simple steps to longer-lasting shoes and better performance:
- Clean them after every round.
- Dry them naturally, away from direct heat.
- Store them properly in a cool, dry place.
- Check your spikes regularly for wear and tear.
These small efforts pay off by saving you money and ensuring your shoes perform their best when you need them most. This pride in your gear is a fundamental part of your journey as you learn how to play golf and enjoy every moment on the course.